Virtual Clinic is an add-on workflow optimized for intra-networks (communicating with a known set of users) and organizations that will use dedicated devices for videoconferencing.
For more information on adding Virtual Clinic to your account, please contact our Sales Team by email at [email protected].
You may also be interested in:
Requester: Requesting a session
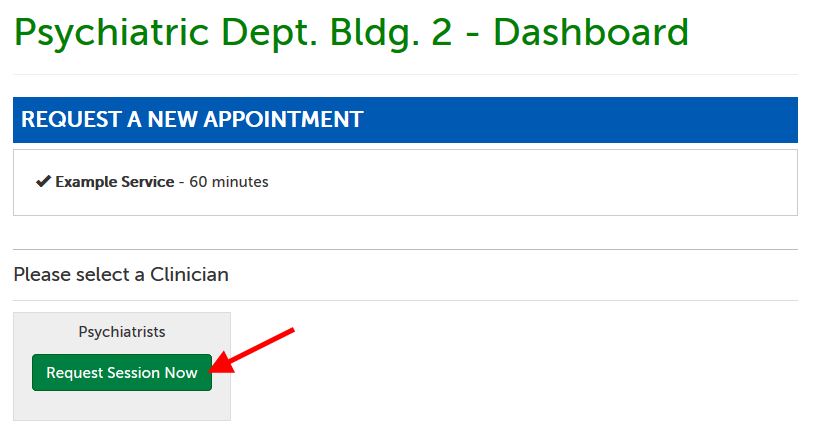
1. The requester logs into their account (or may be using a dedicated station that remains logged in), and clicks "Request Session Now".
- If there are multiple Account Services enabled, check the correct one before requesting a session.
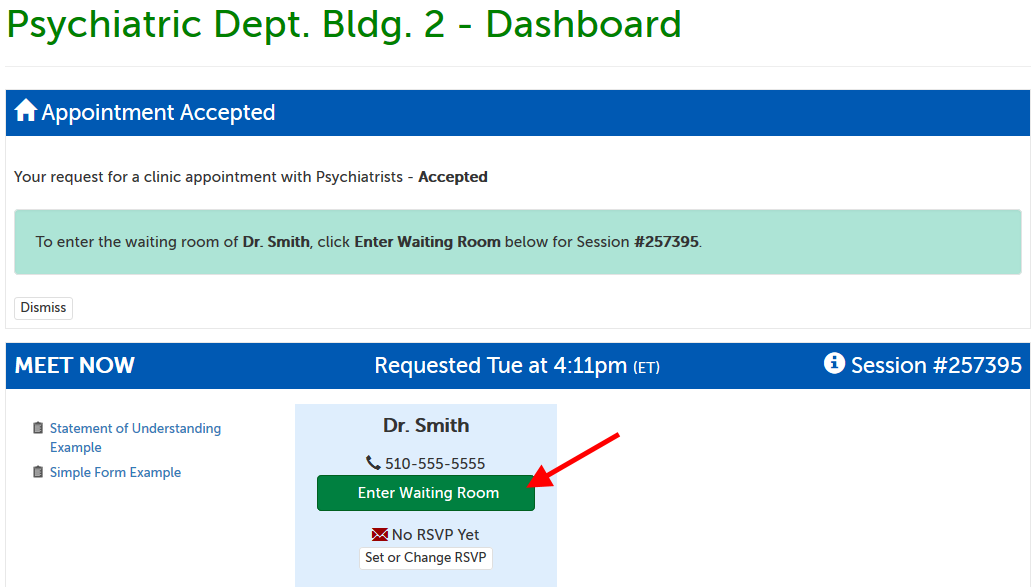
2a. If the request was accepted by any user in the group, a new session will appear on the requester's Dashboard. They will click "Enter Waiting Room" to establish their half of the connection and wait for the provider.
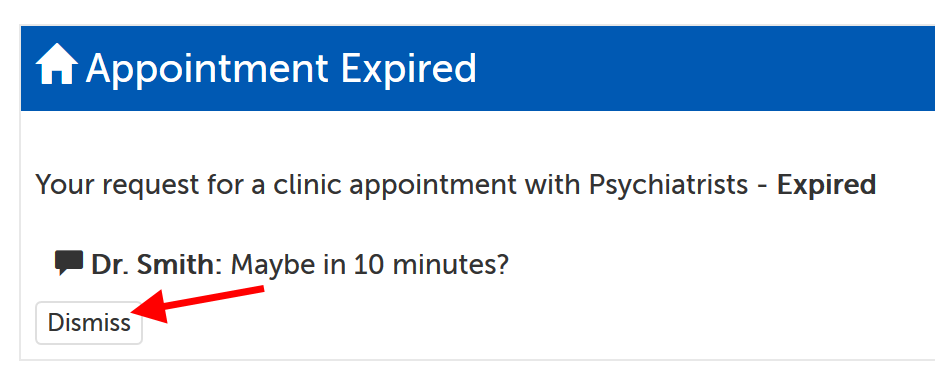
2b. If the request expired before any member of the group could accept it, or if the request was declined by all available members of the group, a message will appear with that notification, and display a note (if any) from the declining provider. The requester will need to click the "Dismiss" button to clear the message and try again.
- If the provider has marked themselves as unavailable, the requester is notified immediately that the request is declined.
Provider: Accepting a session
1. The provider logs into their account (or may be using a dedicated station that remains logged in), and indicates that they are available for sessions using the toggle icon at the top of their Dashboard. (If a provider marks themselves as "Unavailable", they will not receive alerts for new requests.)

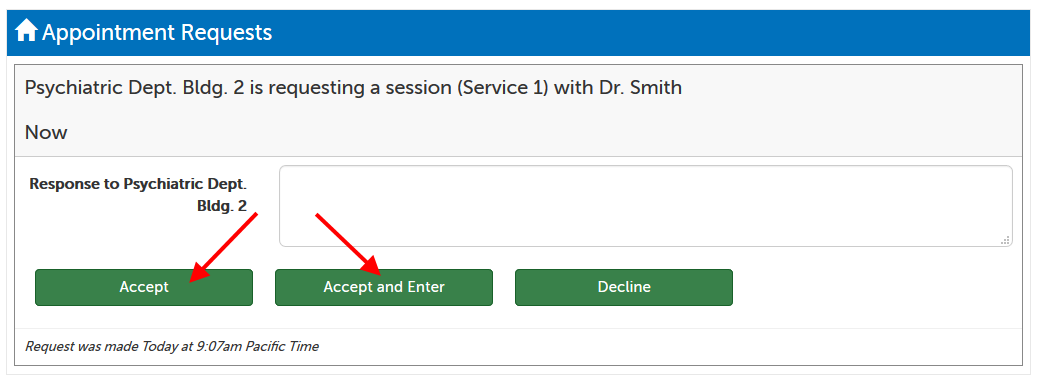
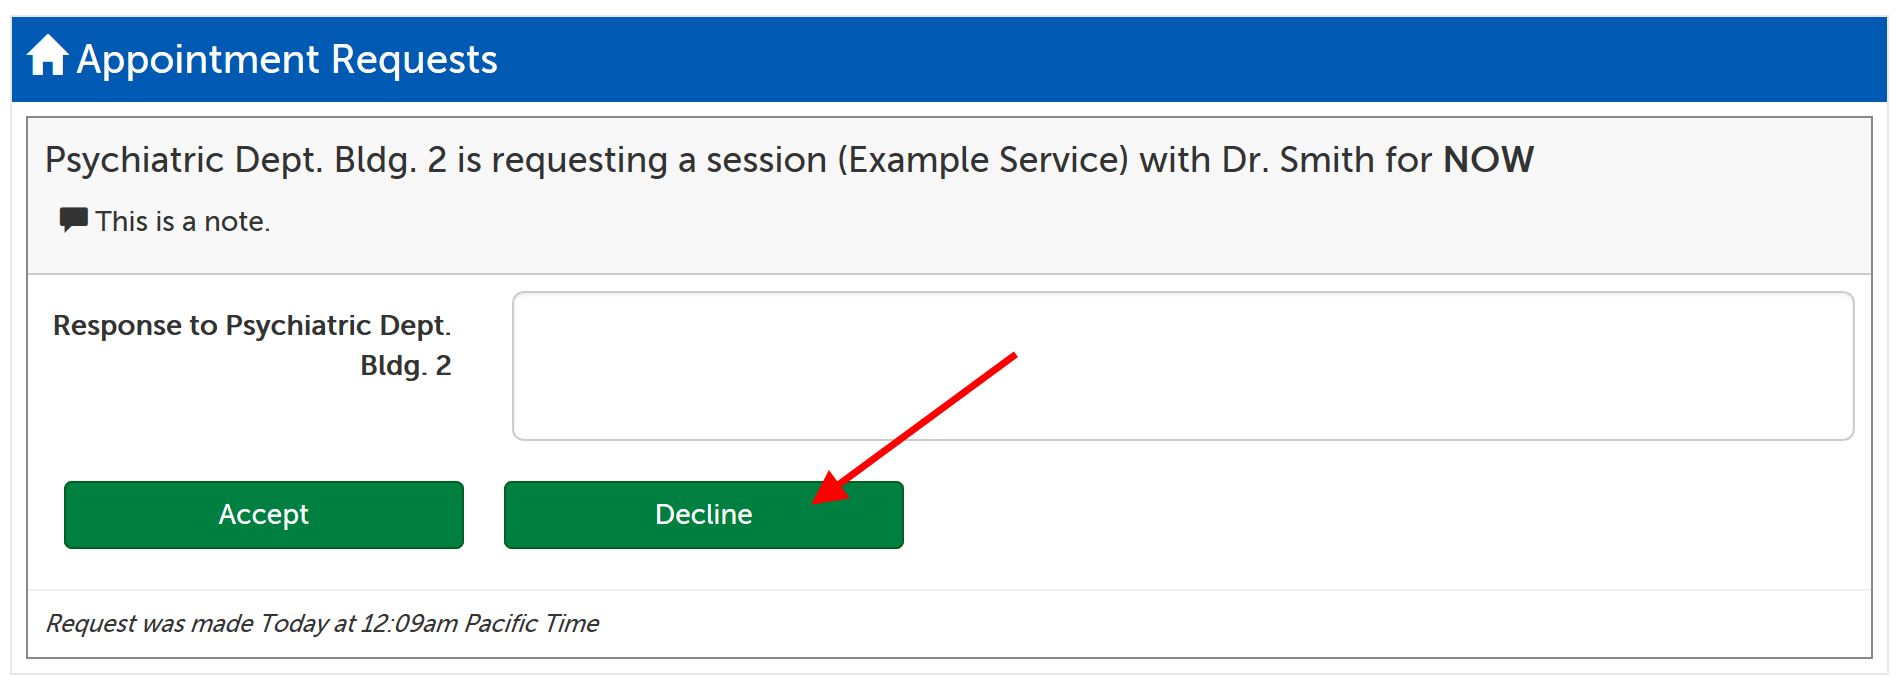
2. When a new request is made, it appears at the top of the provider's Dashboard; to accept, they can click the "Accept" button, or "Accept and Enter" (which accepts the request. This will create a new session on the Dashboard.
- If an Account Service is associated with the request, the service name will appear in parentheses in the request.
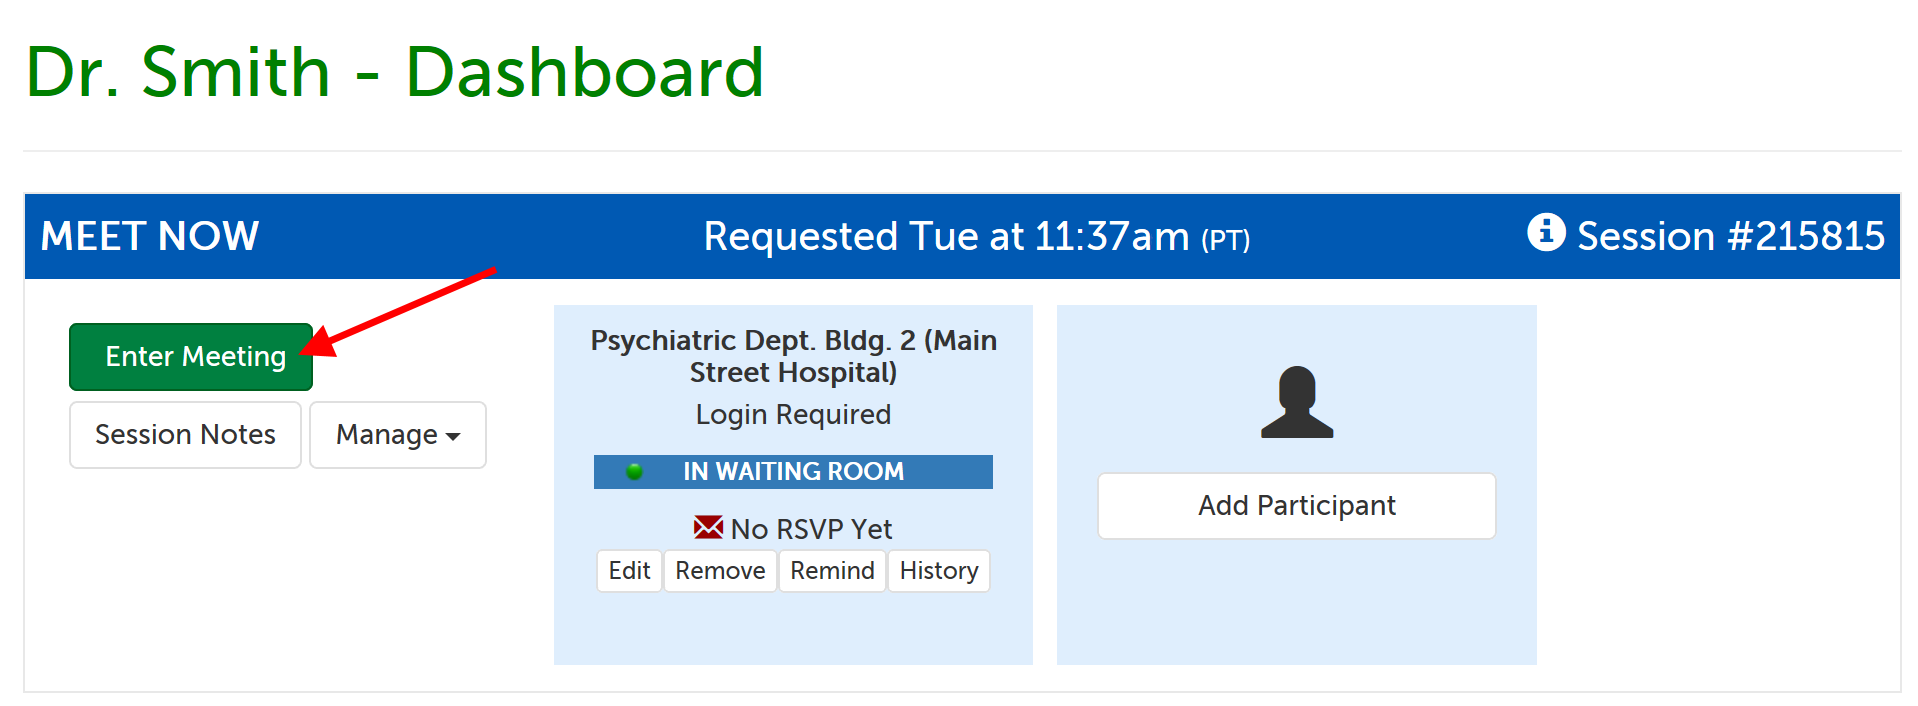
3. If the requester did not click "Accept and Enter" in the previous step, they can start the meeting when ready by clicking on "Enter Meeting". (The status underneath the participant's name will change to "In Waiting Room" when they have arrived.)
Declining a session
Providers can automatically decline all sessions by clicking the availability toggle at the top of their Dashboards to change their status to "I Am Unavailable for Sessions".

To decline sessions on a request-by-request basis, providers click "Decline" on the request when it appears on their Dashboard.
- The name of the Account Service associated with the request will appear in parentheses.
This article was last reviewed by our Support Team on August 12, 2021.